How to Create the Perfect Flatlay Photography
Flatlay photography is a great way to add variation to your images. With just a few props and styling techniques, you can create endless, unique flatlays in very little time. They’re ideal for product photography because they help you to sell the lifestyle rather than just pushing a product. If you’re looking to uplevel your flatlay images then read on to find out how to create the perfect flatlay photography in just a few simple steps!
What is a Flatlay?
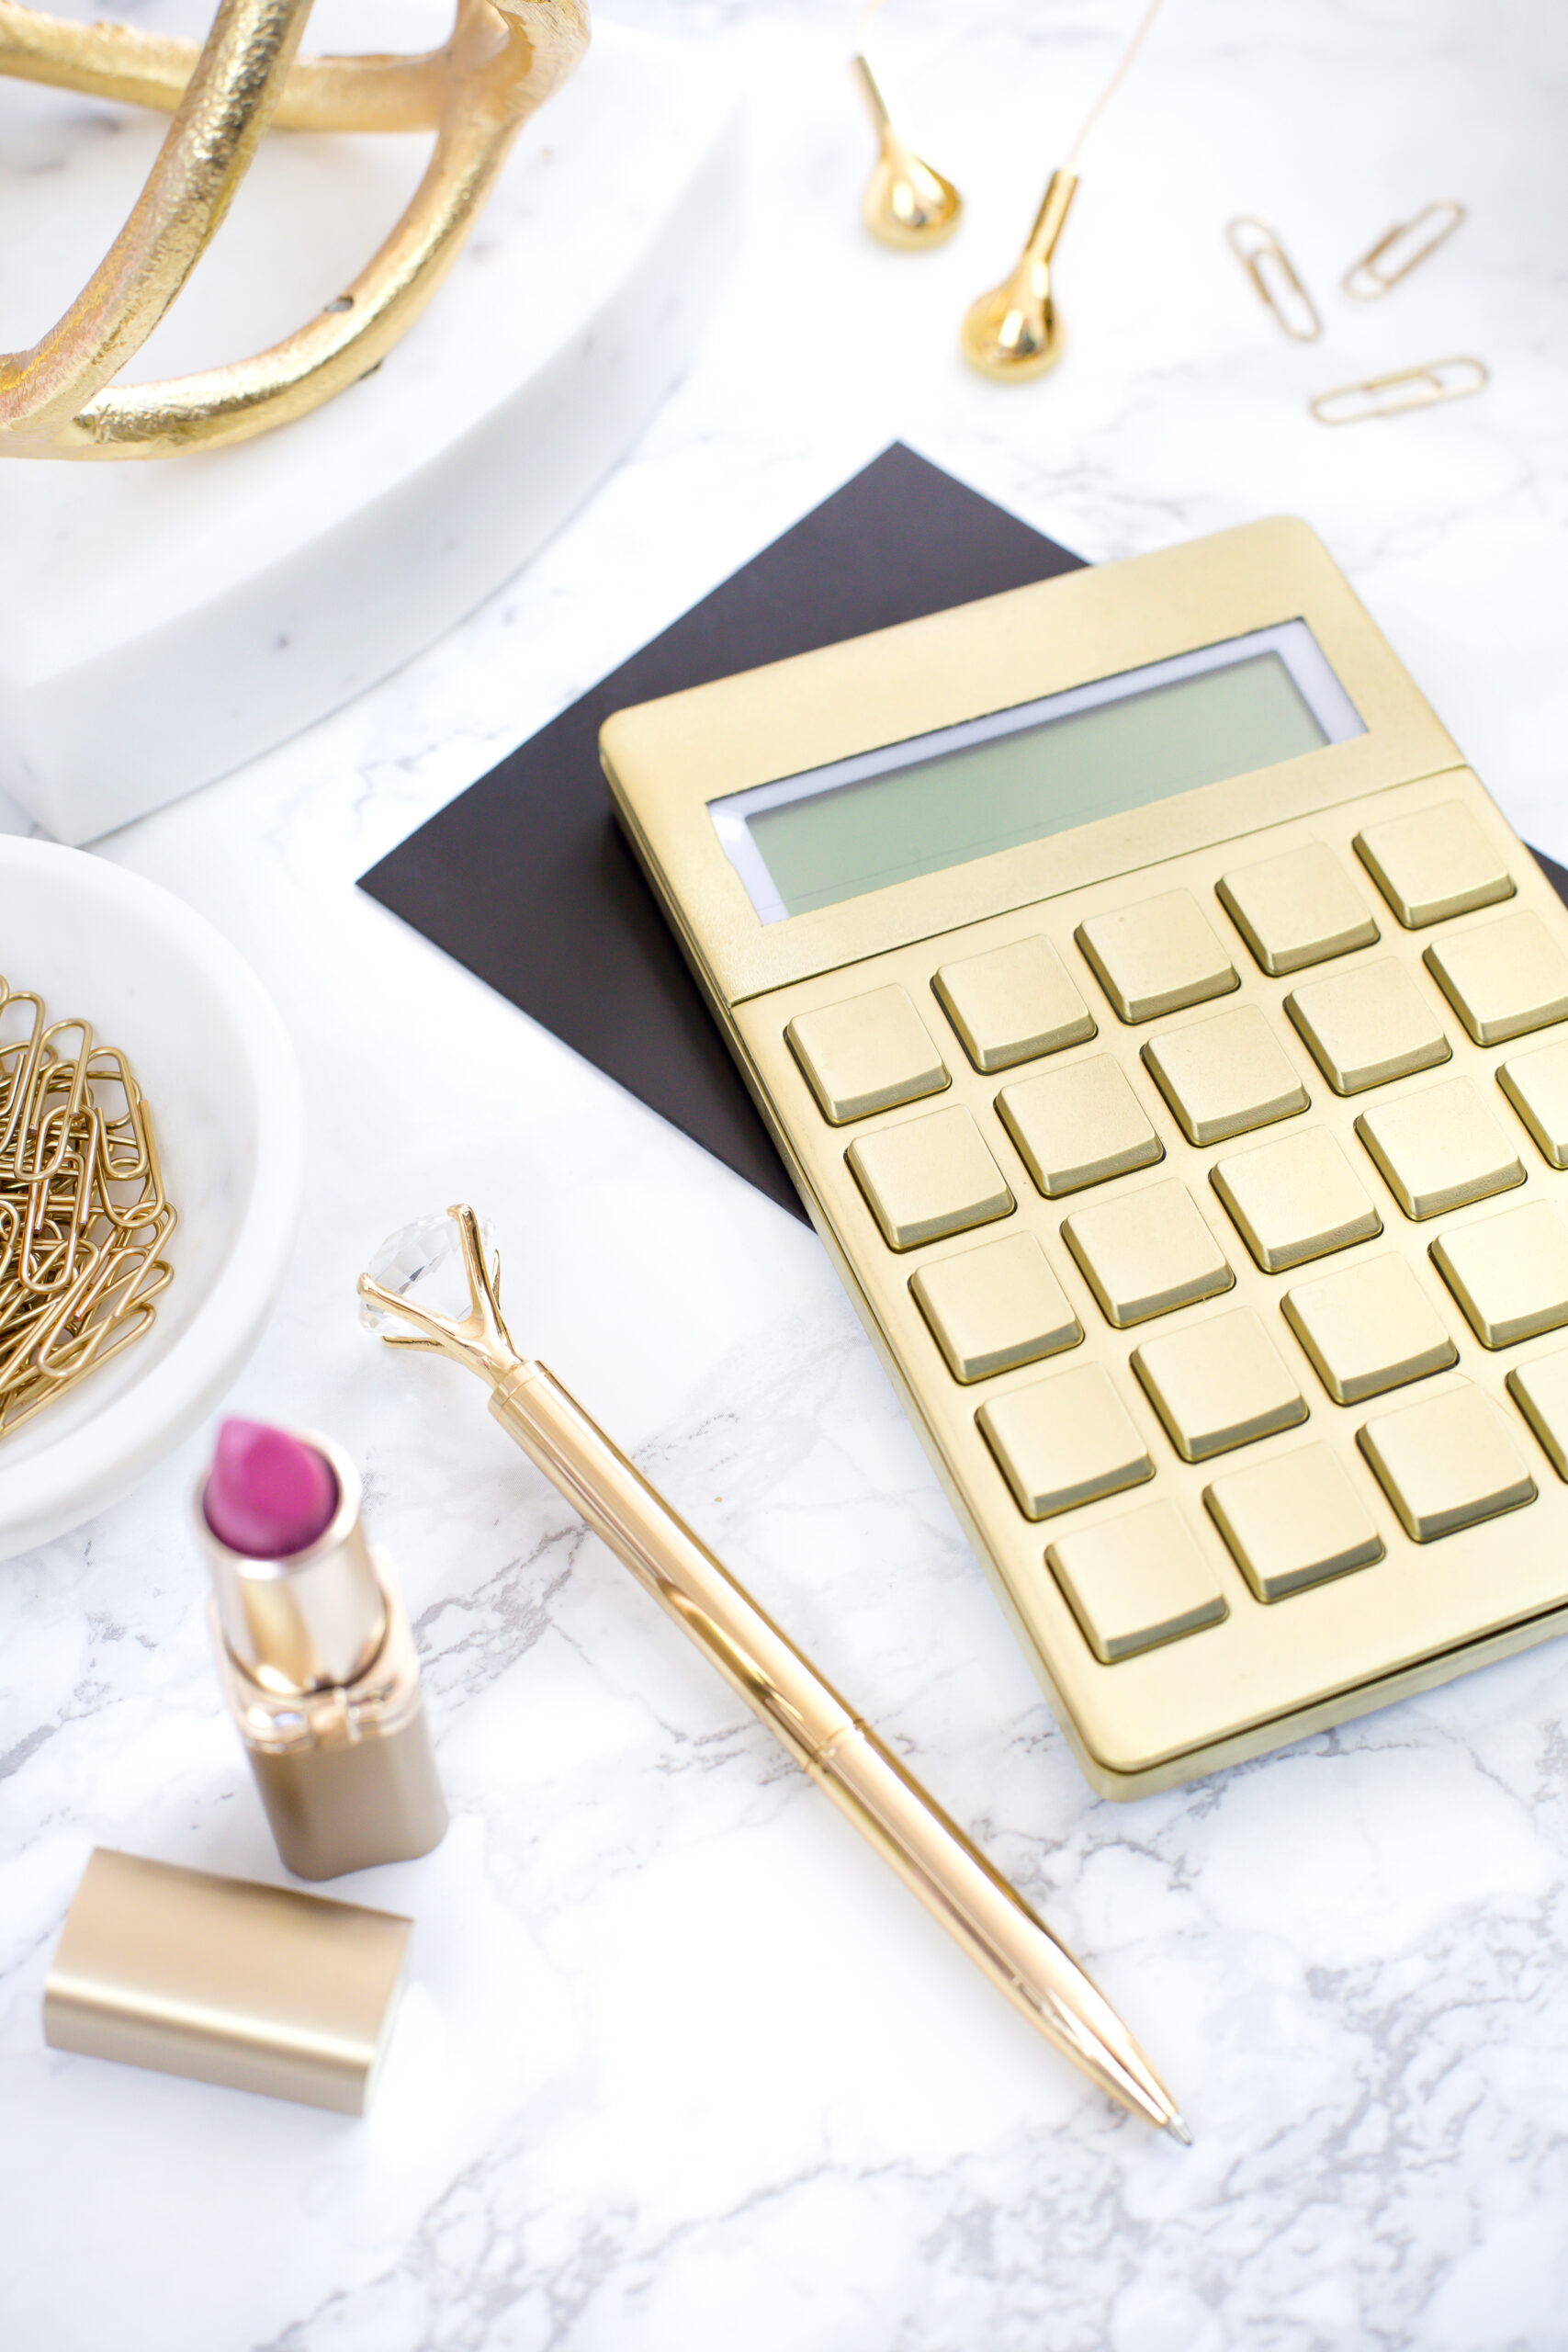
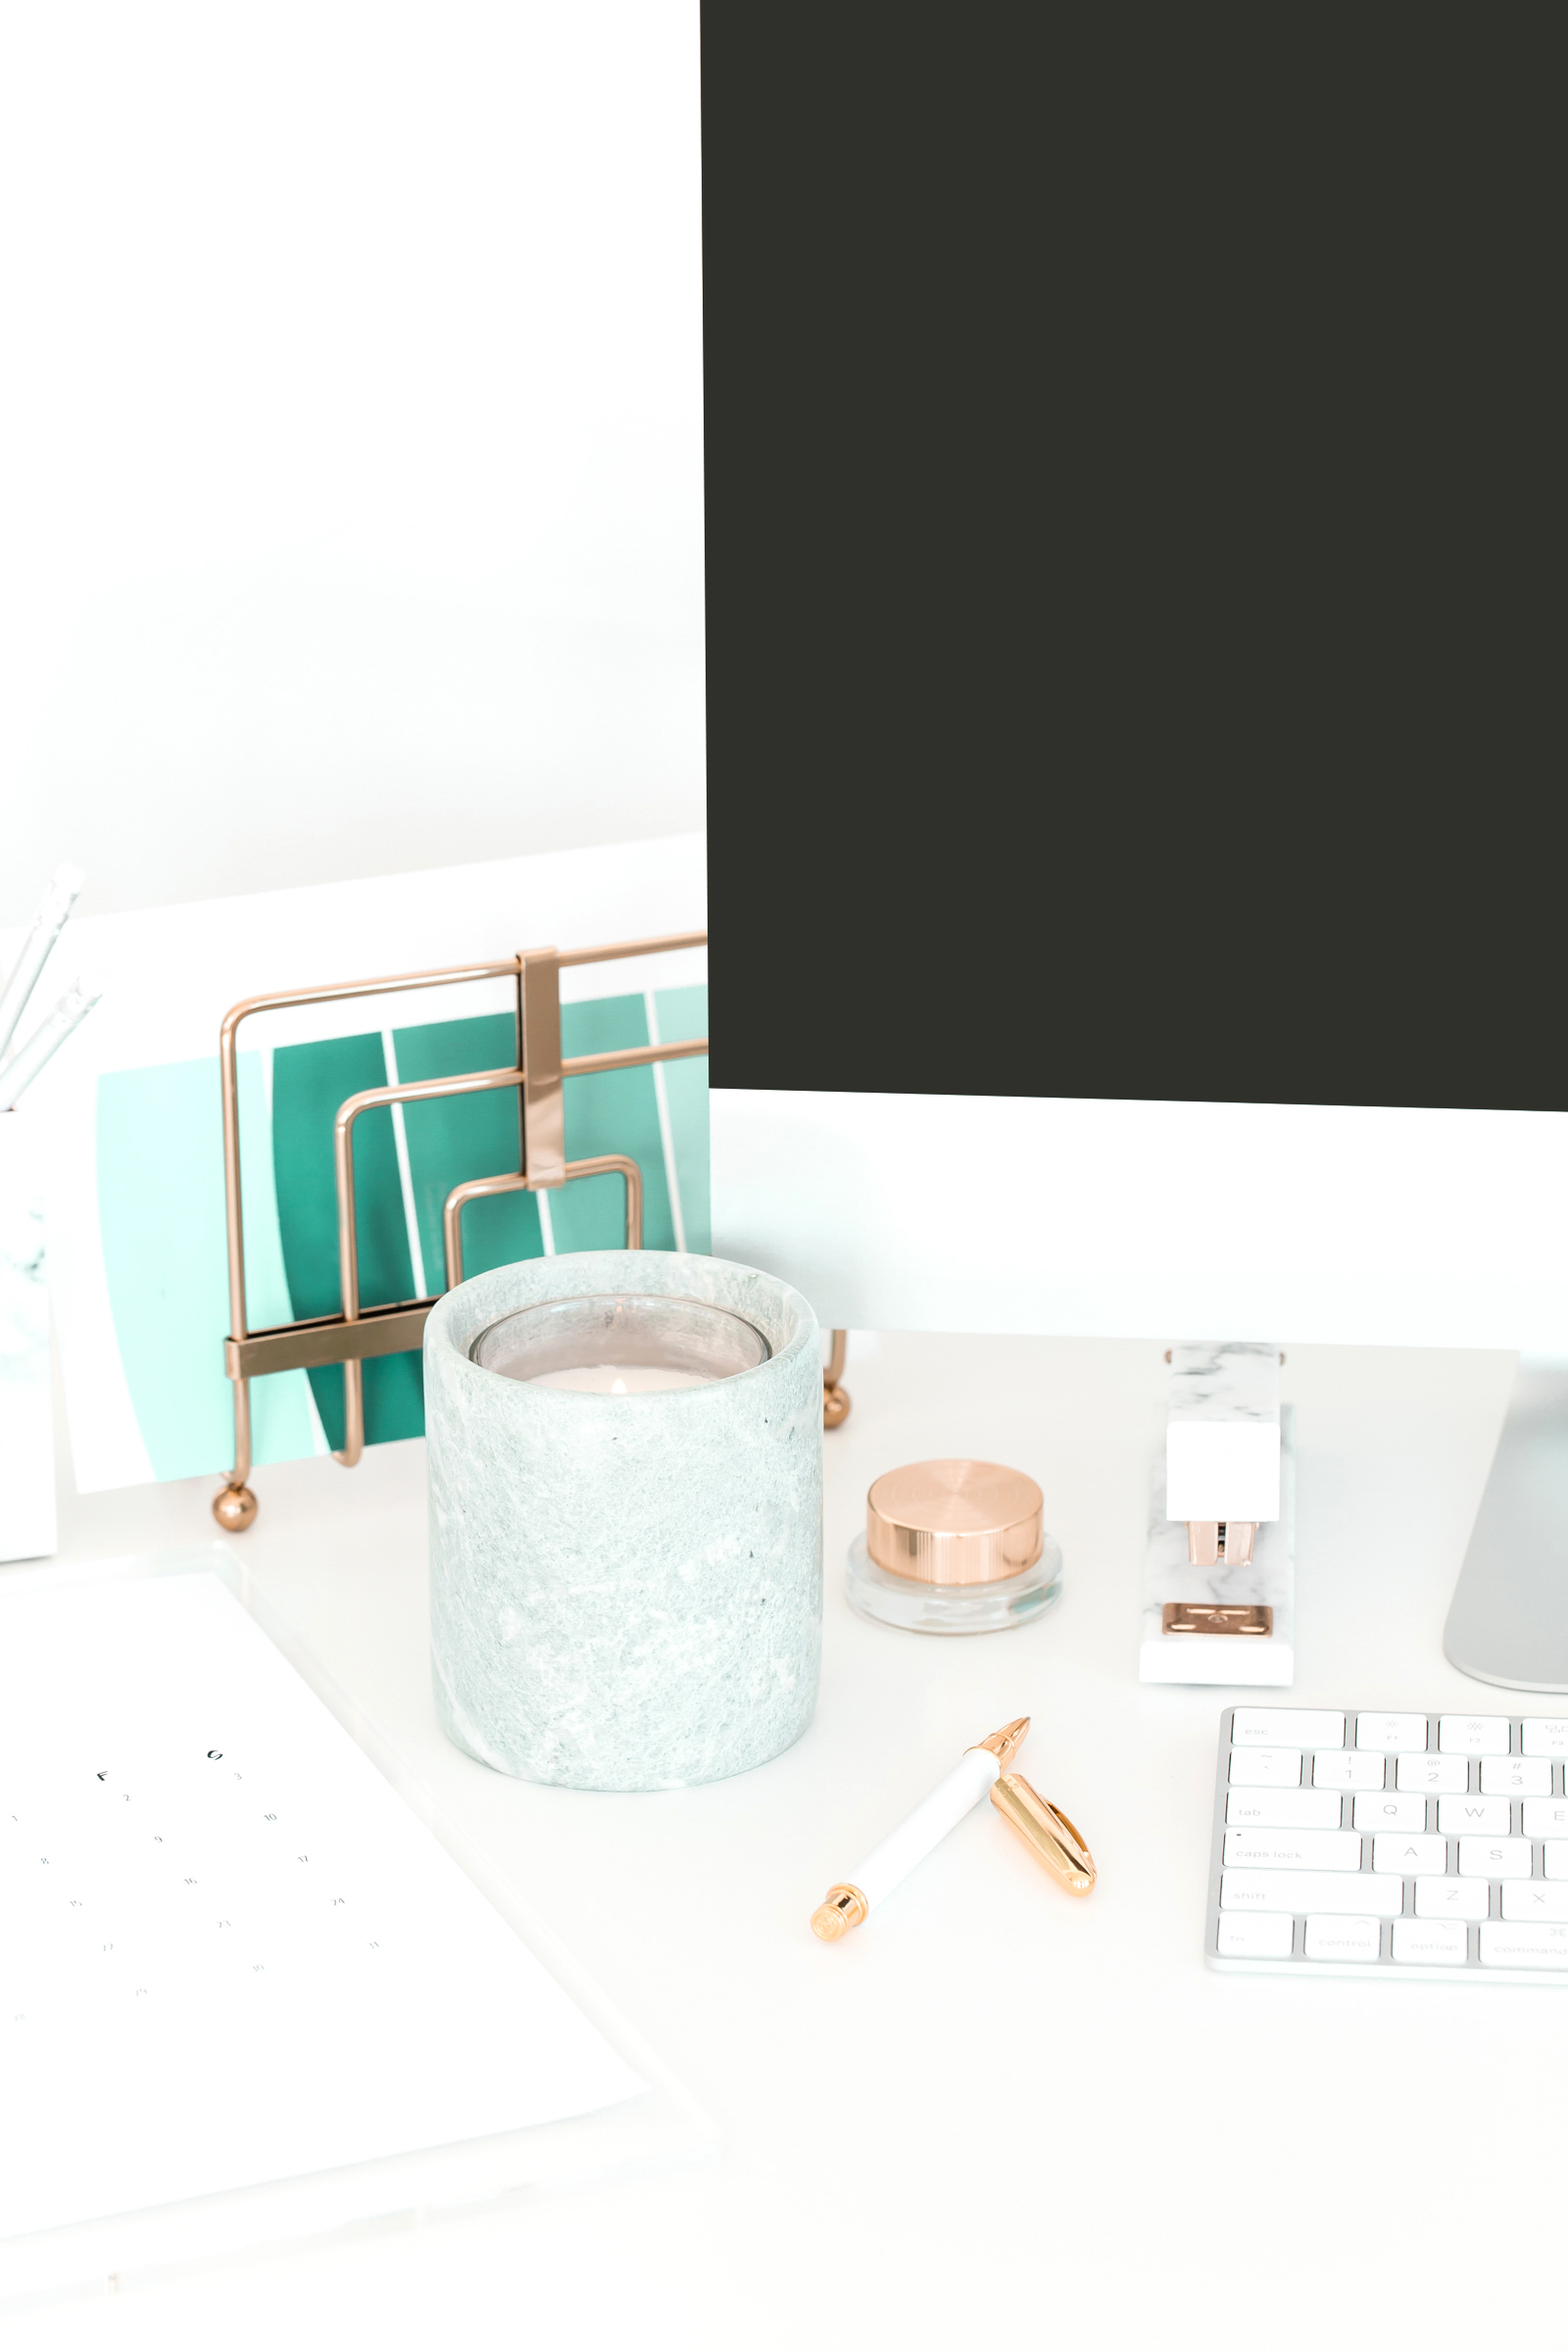
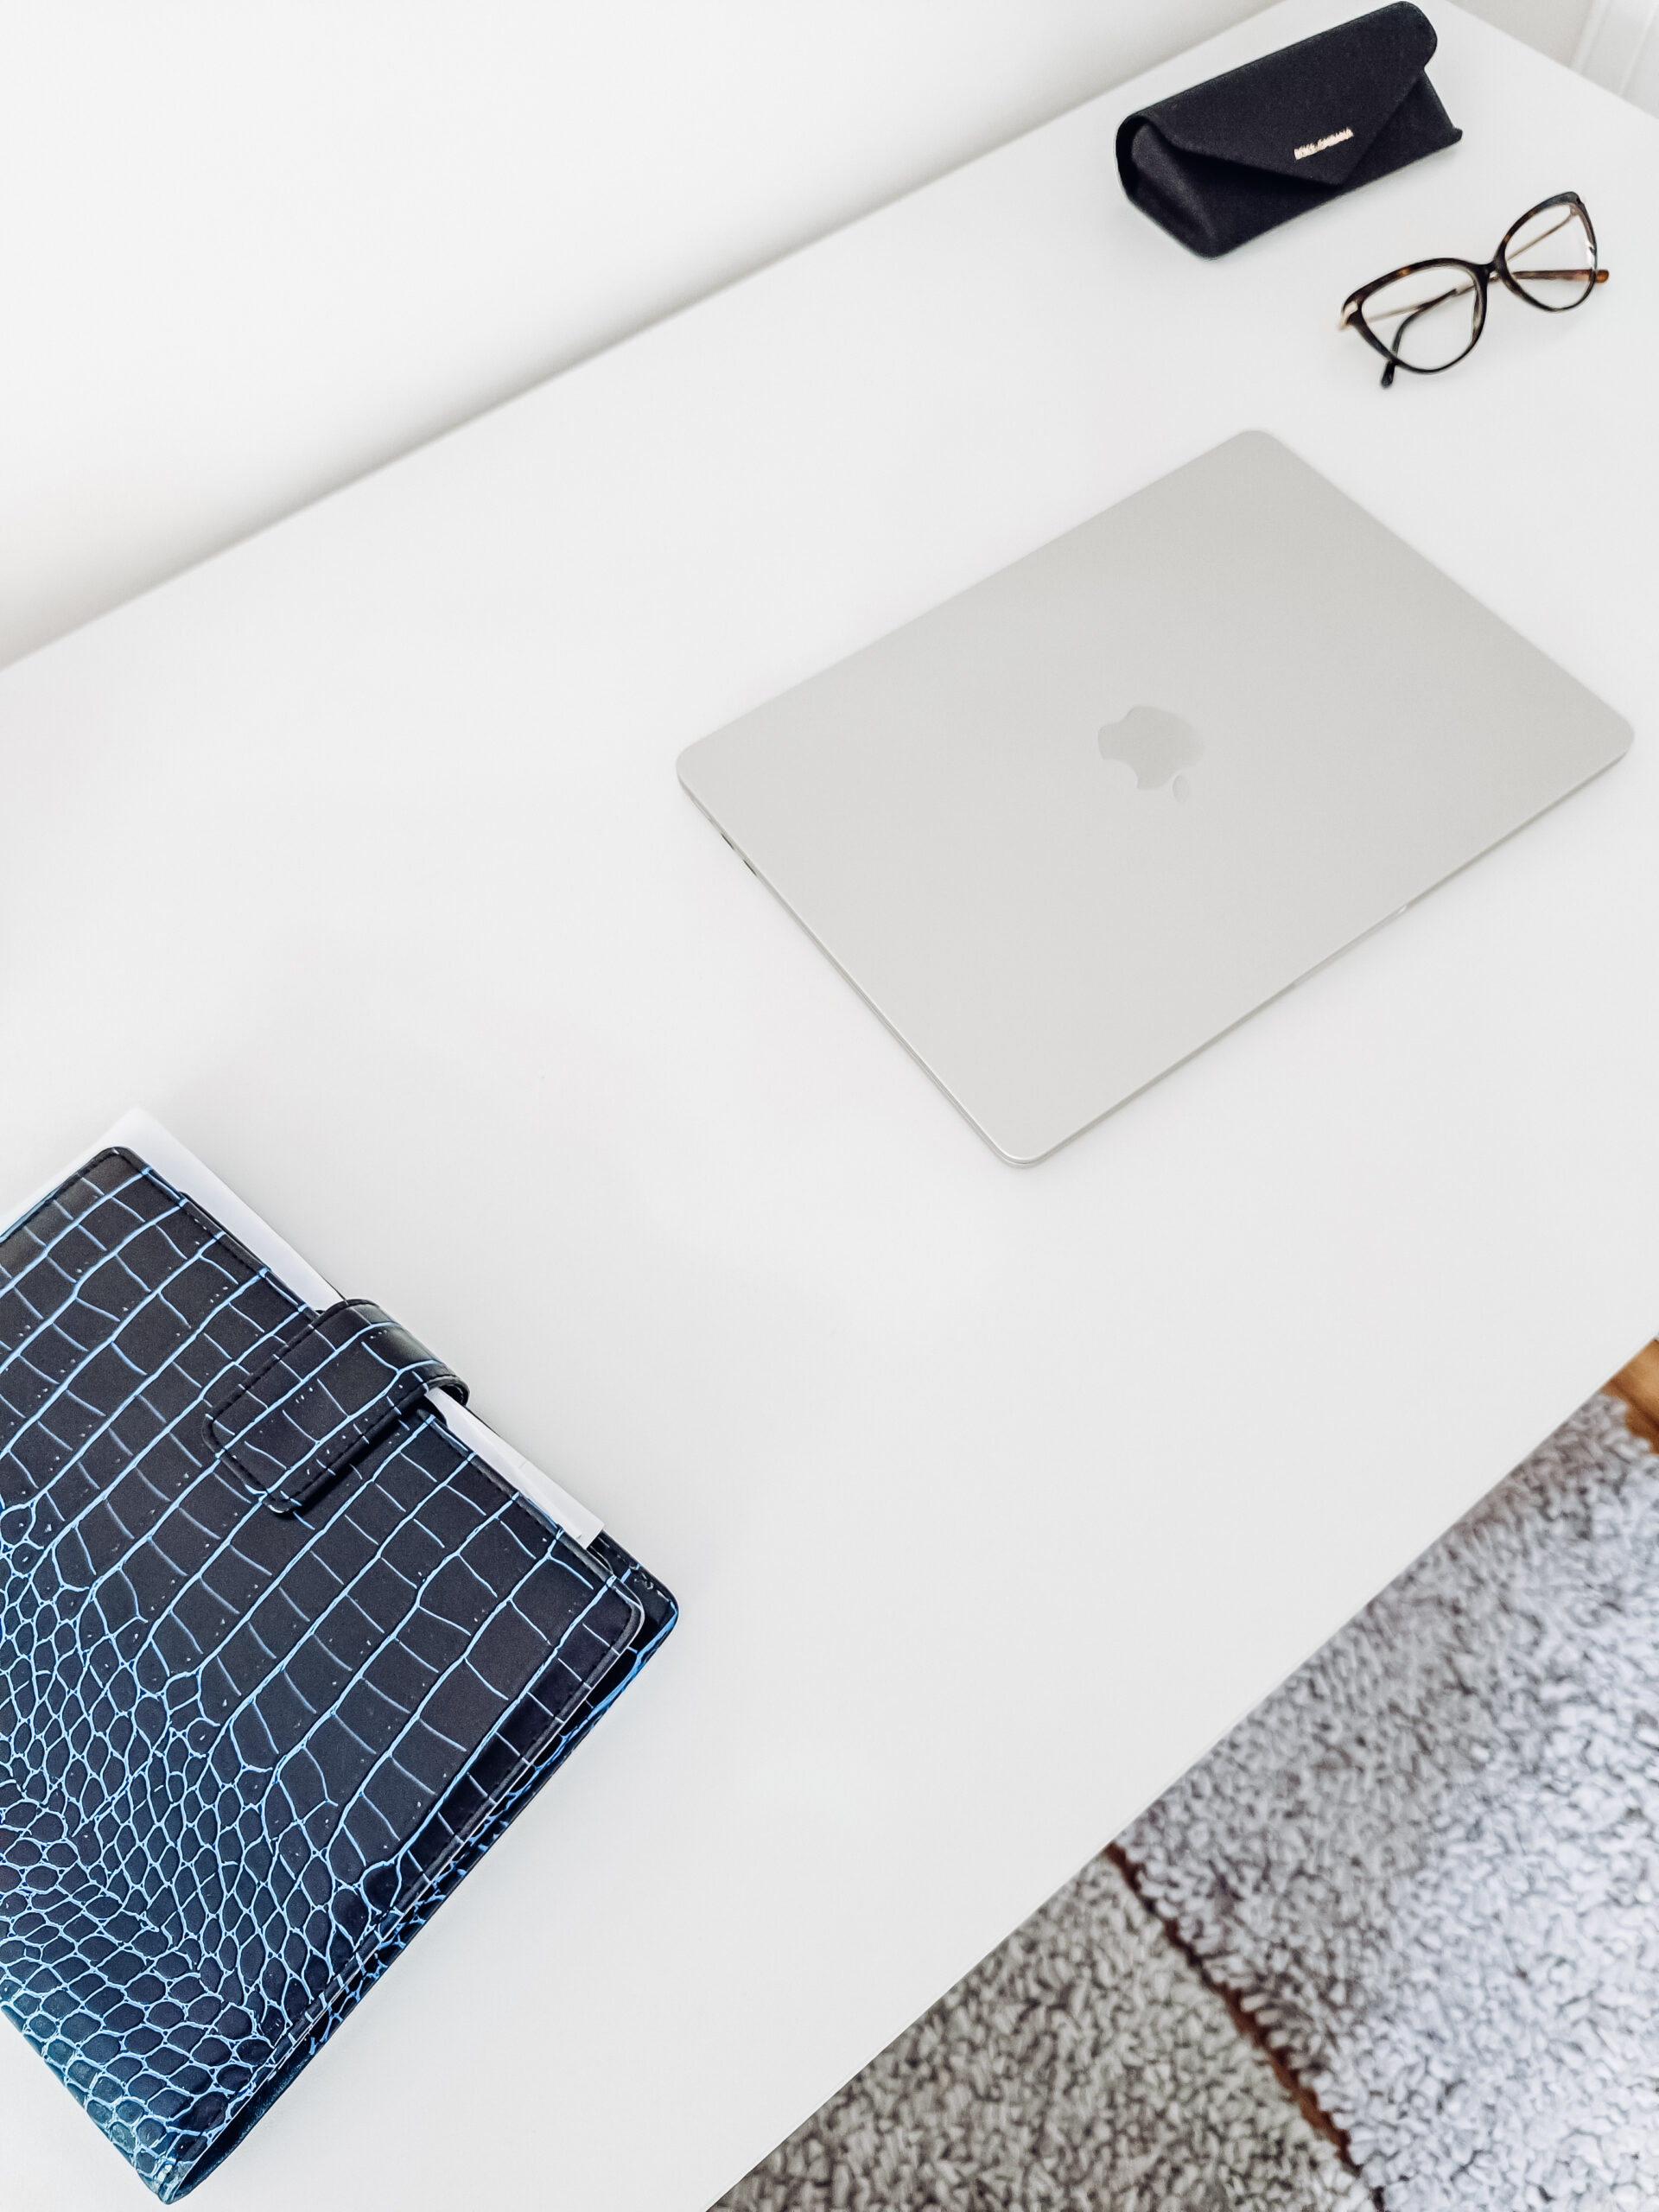
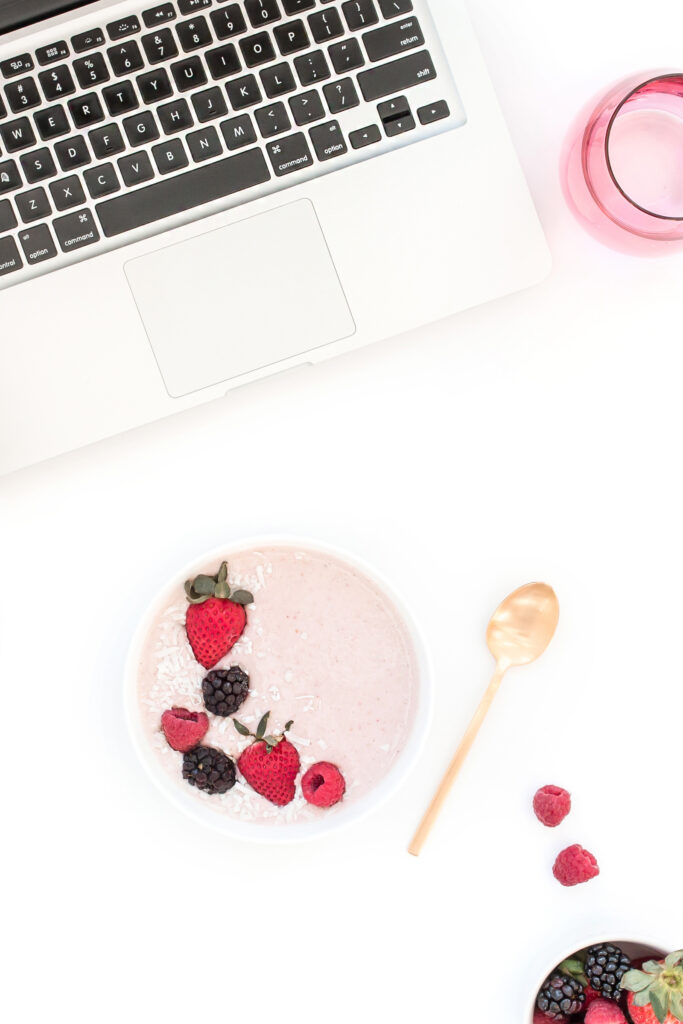
A flatlay is a type of photograph that features a flat subject, such as a table or floor, with various objects arranged on top of it in an aesthetically pleasing way. The objects are often styled and arranged in a way that showcases their colour, texture, and design, and the photo is typically taken from a bird’s eye view to create an eye-catching and visually appealing composition. Flatlays are commonly used in product photography, fashion and lifestyle photography, and social media marketing.
How to Create the Perfect Flatlay Photography
Flatlays are those stylish photos of products and objects taken from above. They are so effective at getting engagement on social media and advertising products and services, yet they are so incredibly easy to create. Yes, at first glance they can look a little complicated and they can tempt you into feeling as though you need to refurnish in order to have a marble worktop or crisp white table upon which to photograph your designer skin care collection – but don’t give in to comparisonitis! There are some easy and affordable hacks that will help you to achieve expert flatlays effortlessly. Here’s how…
There’s no specific way in which you should order the items that will appear in your flatlay. I’d recommend rearranging different items together, mixing different sizes and textures until you are happy with the final look. It can take some time until you eventually feel happy with the flatlays images you produce, but don’t worry – once you’ve found “your style” you will find that arranging flatlay images starts to become very easy and enjoyable to you. Usually there is no central focus point on a flatlay-type picture, but if you would like to make one object in your picture the focus point and keep the rest of the objects in the background, make sure you keep the focus object nearest to the camera so it makes it clear to the viewer where they should focus their attention.

Creating an Area for Flatlays and Photography
If your home doesn’t match the aesthetic you’re trying to create online with your photography then don’t panic! What you can do is create an area for your photography, which resembles the kind of style you’re going for. Photo props and backdrops are a great way to achieve different backdrops and they’re excellent at disguising scratched tables or floors or simply untidy backgrounds. When choosing an area for your flatlay photography, try to find a spot that’s close to natural lighting, such as a window. If this isn’t an option, I’d recommend picking up a selfie ring light or a box light and use these artificial lighting tools instead.
Prices for professional photography lighting have become significantly more affordable in recent years. The biggest issue for most people when buying ring lights and box lights these days is the amount of room they take up. This is understandable – especially if you’re just getting started with product photography and content creation. Unless you can edit your photos really well or are able to take photos in a bright environment, I’d strongly recommend purchasing at least a basic ring light in order to make your photographs look more professional. It really will make all the difference to your photography and save you hours of tedious editing time!
How to Fake the Perfect Backdrop for Flatlays
If your furniture doesn’t match the theme of your photography or content, why not fake the perfect backdrop instead?! Although I’ve decorated my house to suit the simplistic, fairytale white interior images that I drool over on Pinterest, I like to differentiate my photo backdrops too. But before I moved into my new home, I relied on printed backdrops to form my flatlay pictures. This is so quick, cheap and simple to do. Basically, I went online and looked at the type of backdrop effects I wanted for my flatlays. I love the marble effect but I could imagine myself getting easily bored of it if I decorated my home in marble.
So instead I purchased a marble effect photo backdrop, which is perfect for all my photography and flatlay needs. It looks realistic and I get so many message from people who think I’ve redecorated whenever they see these pictures. If you need larger backdrops you could purchase a full-length studio backdrop, which pretty much hangs from floor to ceiling and can still be stored away neatly. Not only is this cheap and simple, it also gives you the option to change your backdrops as frequently as you like for a very small price. If marble doesn’t meet your tastes, why not try wooden look backdrops, floorboards, grass, flowers, an antique look…or whatever you choose.
How to Style Your Flatlay
- Choose a theme or colour scheme
- Select items that fit the theme or colour scheme
- Arrange items in an aesthetically pleasing way
- Add props, such as plants or books, to fill empty space
- Experiment with different angles and camera shots
- Edit lighting and colours to enhance the overall look.
What are the Main Rules for Photography Composition?
- Rule of thirds
- Leading lines
- Balance
- Simplicity
- Depth
- Background
- Cropping
- Pattern and texture
- Symmetry and asymmetry
- Frame within a frame.
What Does “The Rule of Thirds” Mean in Photography?
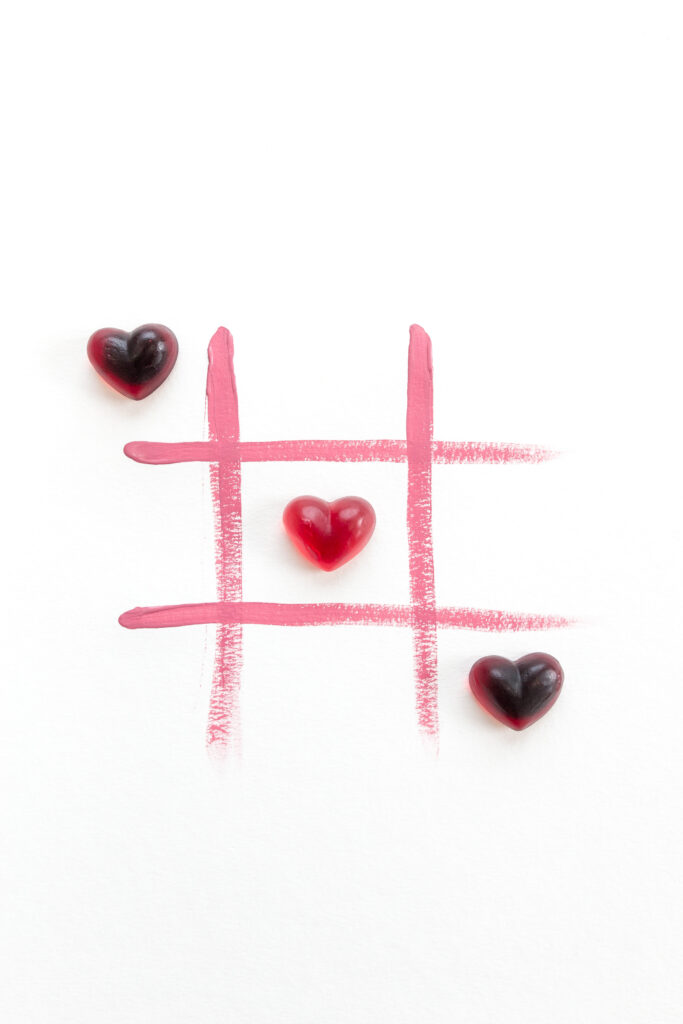
The Rule of Thirds is a basic principle of photography composition that suggests dividing the image into nine equal parts by two equally spaced horizontal lines and two equally spaced vertical lines. The idea is to place the subject or key elements along these lines or at the intersections to create more balance and interest in the composition.
Get creative and don’t forget to tag us at @QuestbgMagazine in your pics to show me what you’ve created!


